by Shannon at Rhythm & Rhyme
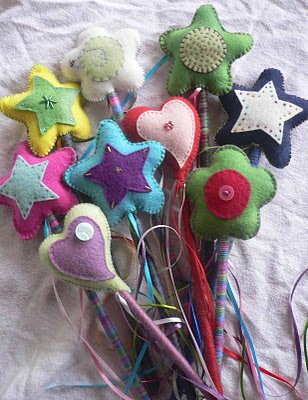
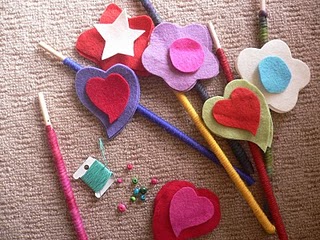
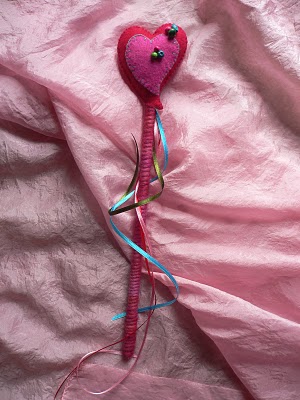
Tutorial - Who wouldn’t love to have these fun wands to play with.
What You Will Need
Colourful bits of felt - just your scraps if they are big enough
embroidery floss
wooden dowel stick
wool (spun for wrapping the stick)
wool fleece (for stuffing)
craft glue
narrow ribbon
pretty things to embellish with - think buttons, beads, shells
How To Make Them
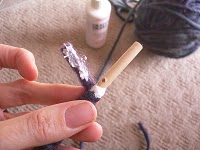
First you will need to drill a tiny hole in the of dowel about an inch or so down from one end - check that your usual sewing needle will fit through it - and drill slowly so you don't spilt the wood.
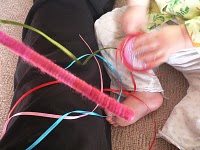
Then get a ball of wool and wrap the stick.
Starting at the end WITHOUT the hole squirt a few inches of glue down to the end, place the blunt end piece of the wool on the glue running down the stick toward the end you just glued
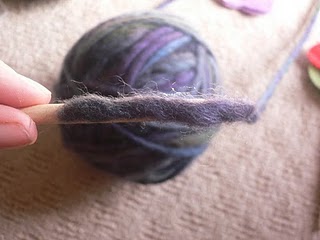
Start wrapping up the stick; you will cover in your blunt end as you go, add more glue every few inches but don't be too generous or it will get messy and set hard and nasty.
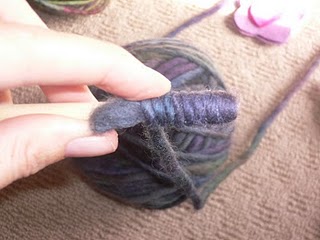
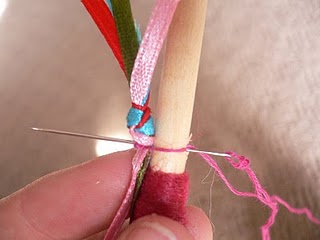
When you get near the hole at the top slow down and cut your wool so that it will finish just under the hole - you want the drill hole to stay uncovered - smear a bit of glue on the end of the wool so it is coated and then firmly wind it, holding it down so it stays put.

Now for your top bit.
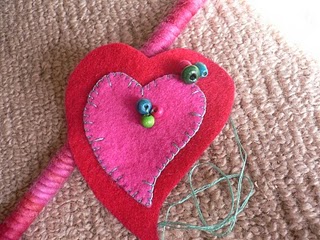
Cut out two pieces of felt in the main shape and one smaller piece either the same shape or something else you fancy.
Take one of the main pieces and attach the the smaller one however you like - make sure that you hide your knots and ends - I have used a blanket stitch here and I alternated the length of stitch to make it a bit more interesting.
After it is secure you can embelish a bit if you want to, or not. If you are making it for a child younger than three I would say not - all the pretty bits are choking hazards; but you could embroider some pretties on.
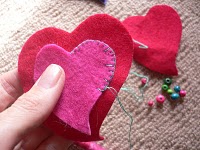
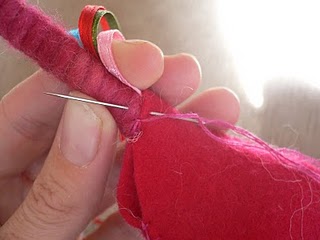
When you are done sew the two main pieces together; first check where you want your stick to sit and starting just to the side of where it will come out, stitch up and around leaving about an inch or so open at the bottom/side for stuffing.
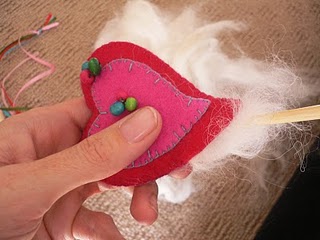
Using a chopstick, a pencil, knitting needle or just your fingers stuff gently - aim for it to be firm but not fat - you can add a little right at the end before you close it if you need to.
ok - now for ribbons (if you are lucky your baby might wake up just in time to help you with this bit, mine did!)
Cut three, four, five lengths of narrow ribbon in whichever colours you like/have. I made mine all different lengths, some longer than the stick and varying ones between. (cut the ends on a diagonal so they are less likely to fray) then tie them all together in a knot close to one end.

Thread your needle with a new piece of floss (two strands the same colour you used to sew the outside edge) and knot the ends. Sew in and out through your ribbons around the knot til you are sure it is quite secure then poke your needle through the drill hole in the dowel and secure the ribbons to the stick a bit like you are sewing on a button. When you can give it a good strong tug and it doesn't budge move on.
Keeping the thread attached; poke the stick up inside your wand top and give it a wiggle til it sits nicely. Holding it firmly against your beginning stitches begin sewing your hole closed by sewing into both the felt and the wool around the stick - you can stitch all aroudn the stick this way and then blanket stitch the last of the hole closed.

when you are finished it is very important to hold onto your wand,
close your eyes tight and make a wish - believe with all your heart and hope it comes true.
Thanks for the inspirational tutorial! I used it to make wands for my daughter's birthday party! Here is the link if you'd like to check it out. :)
ReplyDeletehttp://www.mywrinkleintime.com/2012/11/princess-birthday-party.html