by Positively Splendid
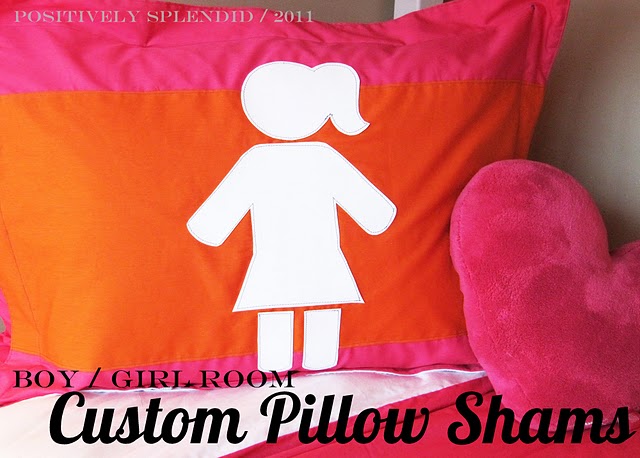
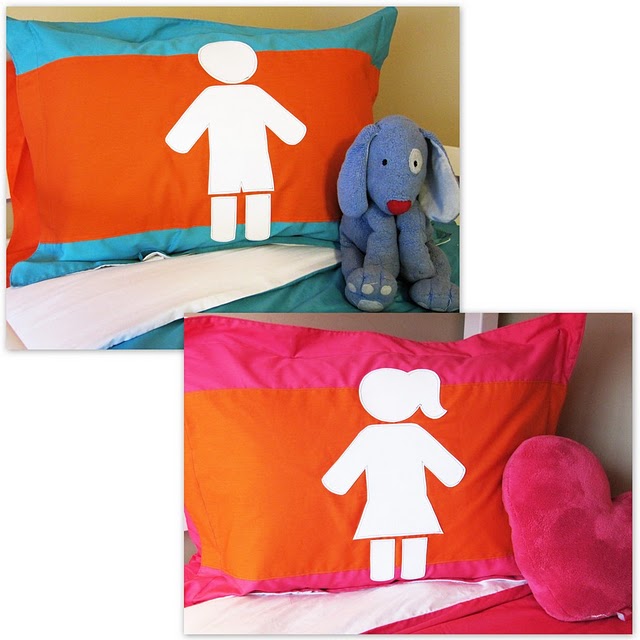
Template and How-To - Let Positively Splendid show you exactly how I made these little darlings!
For this project, you will need...
Boy and/or Girl Templates
1/2 flat sheet for the front panel
1/2 flat sheet for the back panels
A portion of the remainder of the sheet you cut your stripes from for your duvet
Marine vinyl
Wash Away Wonder Tape
Leather sewing machine needle
Heavy duty thread
Tissue paper
Washable ink marker
Coordinating thread
Basic sewing supplies: shears, machine, measuring tape, etc.
Recommended: rotary cutter and mat
Prep Work
Cut out your pieces. For each standard-size sham, you will need:
(2) 24 x 31" front panels
(2) 24 x 24" back panels
(2) 24 x 10" back panels
(1) 12.5 x 31 stripe
(1) set of boy or girl applique pieces cut from your vinyl, cut out using the templates linked above. For each applique set, you need:
1 head piece
1 body piece
2 legs
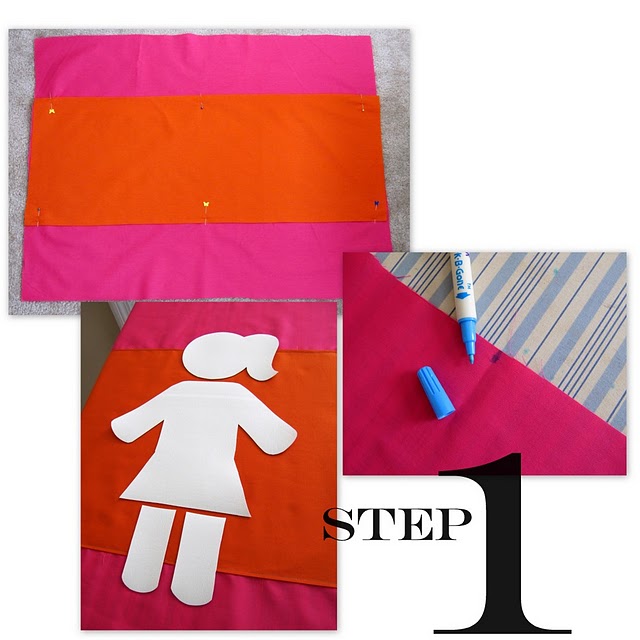
step 1 / Press both long edges of your stripe piece under 1/4". Pin your stripe to one of your front panel pieces 6" from both the top and bottom of your front panel piece. Edgestitch along the long edges of your stripe to secure it to your front panel. Fold your front panel in half lengthwise, and mark the center point of the top and bottom of your piece using a washable ink marker. Using these marks as a guide, center the pieces of your boy or girl appliques on your sham as shown, adhering the pieces to your panel using Wash Away Wonder Tape.
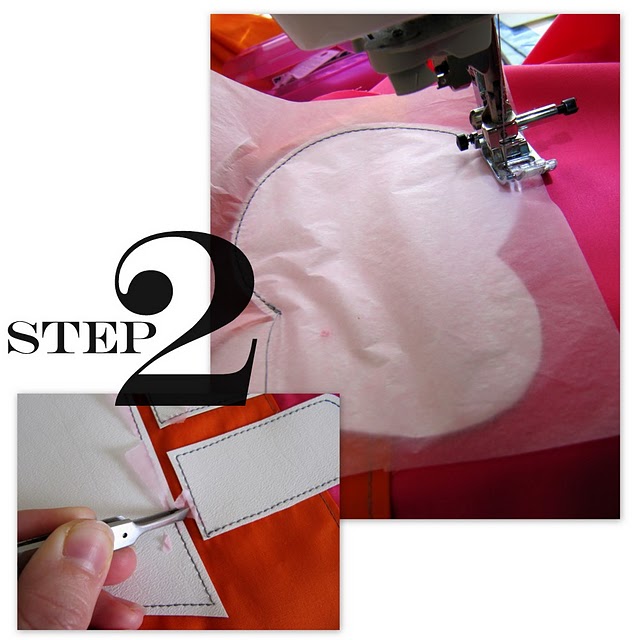
step 2 / Outfit your machine with your leather needle and your heavy duty thread. Place a piece of tissue paper on top of your applique, and carefully stitch all the way around each piece to secure it to your sham. (The tissue is used to keep your foot from sticking to the vinyl as you sew. Smart!) When you are done stitching, tear the tissue away. Use tweezers to remove any tiny remnants of tissue than remain.
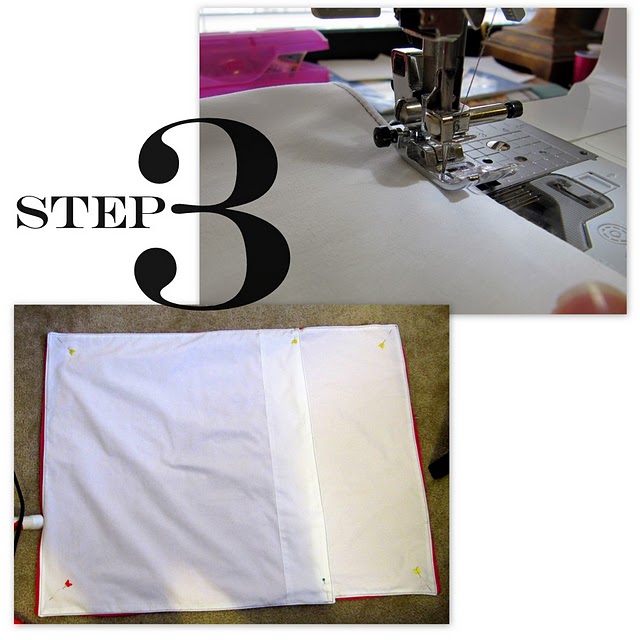
step 3 / Replace your leather needle with a standard sewing needle and your heavy duty thread with your standard thread. Pin your two front panel pieces together, right sides facing, making sure all of the edges are precisely aligned. Stitch them together using a 1/4" seam allowance, leaving a 3-inch opening for turning. Clip your corners and turn your piece right side out, using a corner-turning tool to push the corners and seams out completely. Press. Edgestitch all the way around your piece, closing the opening you used for turning as you go. Repeat the above steps with your two 24 x 24" back panels and your two 10 x 24" back panels.
With wrong sides facing, pin your smaller back panel on the right-hand side of your finished front panel, with the long sides and corners of each piece precisely aligned. Now, pin your larger back panel piece on the opposite side, precisely aligning the corners and edges, so that the center edges of your back panel pieces overlap by 2".
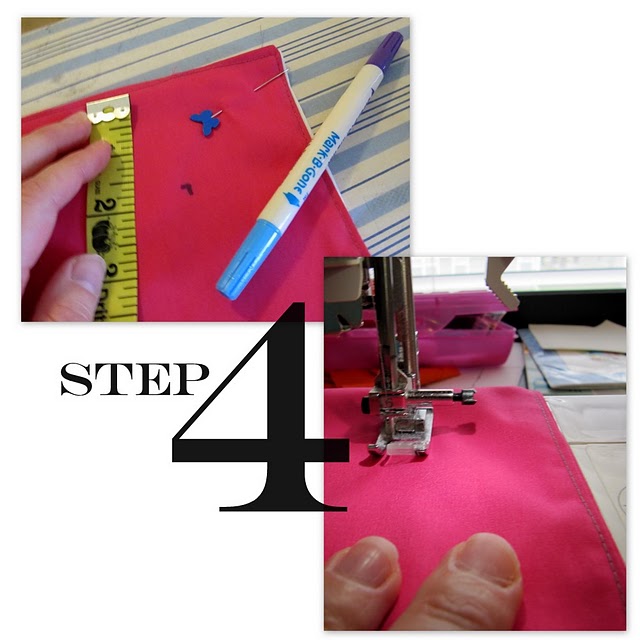
step 4 / On the right side of your front panel, make a mark with a washable ink marker 2 inches from each of the outer edges at each corner, as shown. You will use these marks as guides to show you where to pivot when you stitch your front and back panels together. Now, stitch your panels together using a 2-inch seam, pivoting at each of the corner marks you just made. (It might be helpful to place a Post-It note on your machine 2 inches away from where your needle falls to use as a guide to keep your line of stitching precise.)
Now, slip a pillow inside your sham and admire your work!
Nice post, thank you for sharing. You have really imparted useful knowledge on
ReplyDeletepillow shams