by Papernstitch
A guest post tutorial from Jessica of Living the Swell Life.
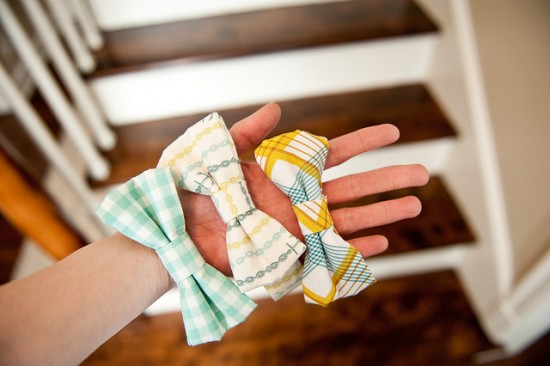
They are so fun to make with your small scraps of fabric!
Although this tutorial focuses on a small, kid-friendly version with velcro in the back, this pattern could easily be adapted to be turned into a hairbow for the most girly-girl! But right now I absolutely love the bow tie look on little boys. I feel like the simplest bow tie could make even the most spoiled brat look like a perfect gentleman. This tutorial requires a bit of sewing know-how, so I’d classify it as intermediate level. Now dig in!
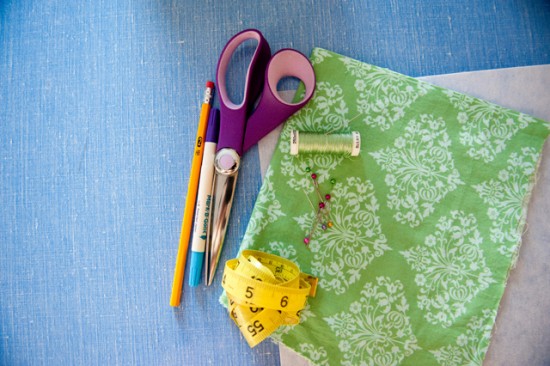
Supplies (must haves): fabric (6×20″ strip), interfacing (medium/heavy) (4×15″ strip) although not 100% vital, this provides great structure to the bow tie, Velcro (1″), scissors, sewing machine, needle + thread, iron, measuring tape
(nice to haves): pins, pencil, fabric marker, rotary cutter + mat
Here’s how you make it: *Before we begin, just a note on sizing: I found that 15″ of fabric for the band created ample room to go around my 2-year-old’s neck and shirt collar. If you are making this for an older child or adult, simply measure the circumference of his shirt collar (preferably while he is wearing it!), and add 2 inches of length for velcro overlap. The strap could further be modified to create a more adjustable grown-up finish, but that’s a different lesson.
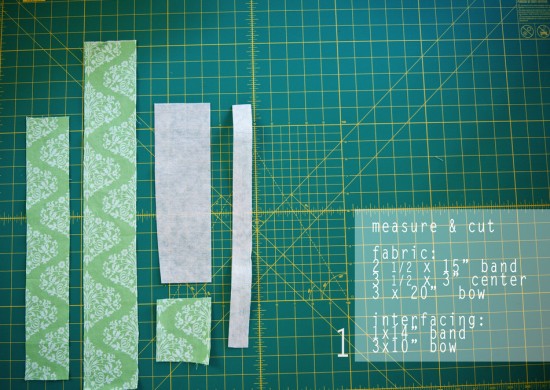
Step 1: Cut your fabric into the following dimensions: 2 1/2 x 15″ for band and 3 1/2 x 3″ for center and 3 x 20″ for bow
Cut your interfacing into the following dimensions: 1 x 14″ for band and 3 x 10″ for bow
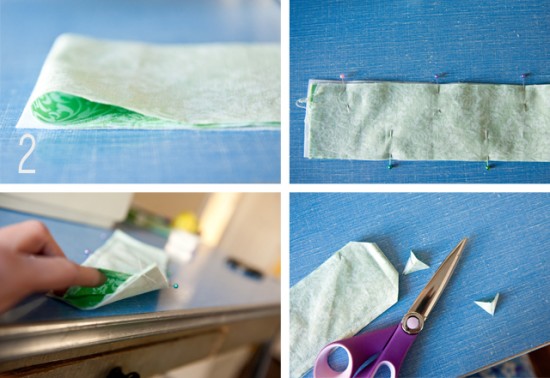
Step 2: Begin your bow! Fold your 3×20″ piece of fabric in half the short way (wrong sides facing out) and place 3×10″ piece of interfacing on top. Pin these three layers together as shown. Next straight stitch along three edges of the rectangle. Leave one of the short ends open for turning.

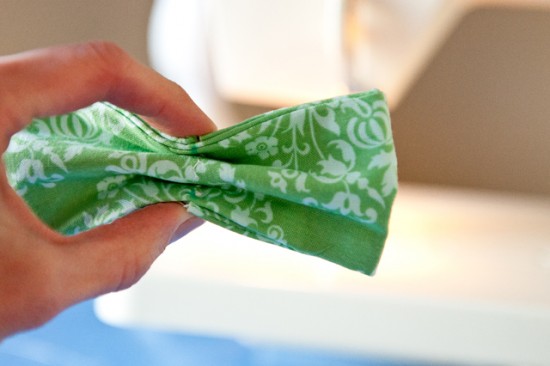
Step 3: Turn your bow inside out. Don’t worry about the unfinished edge. Press flat. Using your measuring tape and fabric marker, mark the center of the rectangle. Then fold both ends in toward the middle.
Step 4: Pin the edges together. Then make one big fat zig-zag stitch down the center. You may need to adjust your machine’s tension, as this is a little chunky.
Step 5: Now fold your rectangle in half again the long way. Make a 1″ straight seam perpendicular to your zig-zag stitch (I used my fabric marker to draw a guideline for myself).
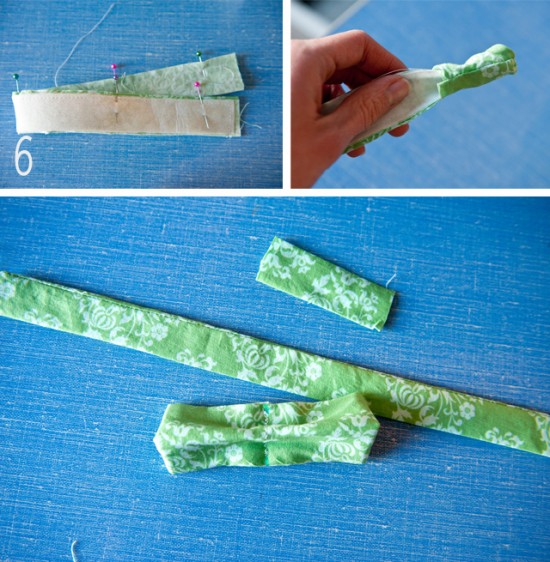
Step 6: It’s time to make the band! Take your 2.5×15″ strip of fabric, fold it in half the long way (to make the strip even narrower, wrong sides facing out) and place the 1×14″ piece on top. Pin the three layers together. Sew a 3/8″ seam along the long unfolded side of fabric and along one short end. (I.e. just sew 2 sides!) You’re ready to flip your fabric into a tube. This can be a little bit tedious, but trust me, it’s worth it in the end! Use a pencil with a good eraser to help prod your fabric along. Press flat.
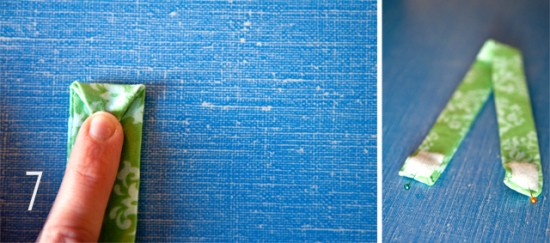
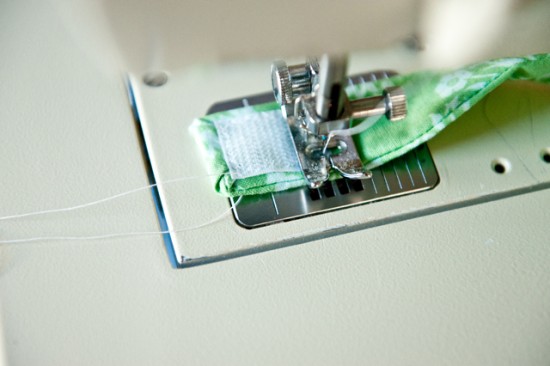
Step 7: Sewing velcro to the edges: To address that pesky unfinished edge, we will simply hide it underneath the Velcro: Tuck in 2 sides of fabric and fold the edge down into a point (like an envelope). Simply pin a piece of velcro to the top and sew around its border. Do the same thing on the opposite end (and on the opposite side of band). No need to get fancy with the envelope technique on this side, as it is already finished off nicely.
Step 8: Now for the center piece of the bow: Fold your 3.5×3″ fabric in half the long way. (No interfacing necessary for this one!) Pin and sew a seam along 2 unfolded edges. Turn & press. It’s ok to leave the open edge unfinished. We will tuck it in and sew it in the next step.
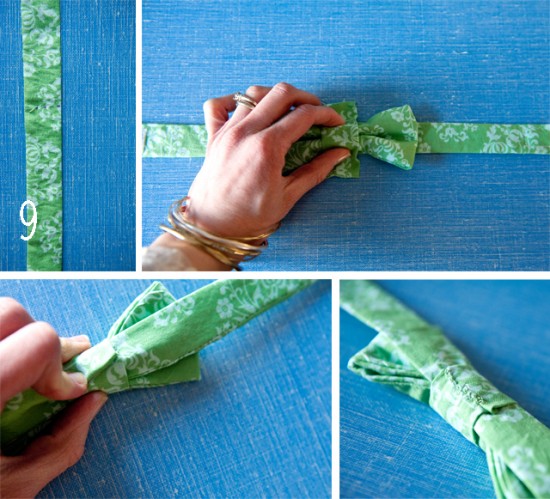
Step 9: Putting it all together: The moment we’ve all been waiting for! Use your fabric marker to draw a mark at the center of your band, then line it up with the center of your bow. Next wrap the center piece around the middle of the bow. Turn all 3 pieces upside down, pull the center piece to your desired tightness, and fold in its unfinished edge. Use your needle and thread to manually whip stitch this piece in place. (Or for instant gratification: whip out your hot glue gun!)
Hooray! You’ve done it. Now stick it on your little guy and party!

No comments:
Post a Comment