A Mod Dolls House
Here is the plans and step-by-step tutorial to make this fun doll house.

A few tips
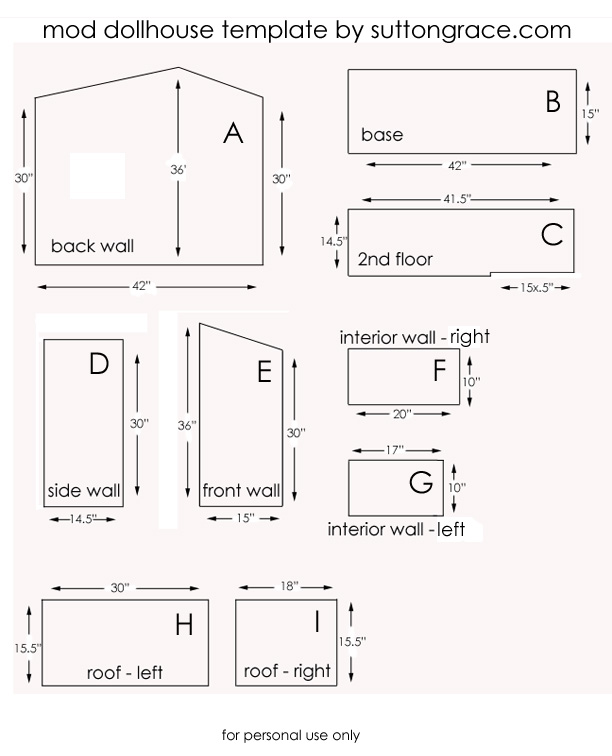
1- You will need 2 boards of 4'x8' piece of 1/2" plywood
2- Cut all the pieces with a jig saw but a table saw would work well too.
3- The top edge of the side wall (D) needs to be mitered slightly to match the slope of the back wall (A).
4- The back wall (A), side wall (D) and the front wall (E) are all secured to the top of the base piece (B).
5- To assemble the house we used 1" finishing nails and a hammer. It is much easier if you have someone to help you with this part. Michael and I laid the base piece top down and pounded nails into the wood (about 1/4" from the back edge, side wall edge and front wall edge) just until the nails were barely visible on the top side of the base piece.
With the pieces on their sides, I lined up the back wall (A) with the base (B) where the barely visible nails were while Michael hammered the nails down. We continued with each wall piece. Measure and mark where the 2nd floor piece (C) will go and again hammer the nails into the wood until barely visible, hold the 2nd floor (C) into place and completely hammer the nails down. The roof pieces (H & I) were last were done in the same manner. Lastly we installed the interior walls (G & F).
6- Our cuts weren't perfect. Once the house was put together there were lots of gaps at the roof line. The house was secure but it didn't look pretty. I used caulk (make sure it is paintable!!) to fill in the gaps knowing it would never be noticed once the house was painted and wallpapered.
7- We eye-balled the window placement once the house was all put together. The windows are about 9"x6.25" except, of course, for the triangular window which is as wide as the other windows but only a few inches high and the long edge of the window matching the angle of the roof. The windows were cut out with a jig saw.
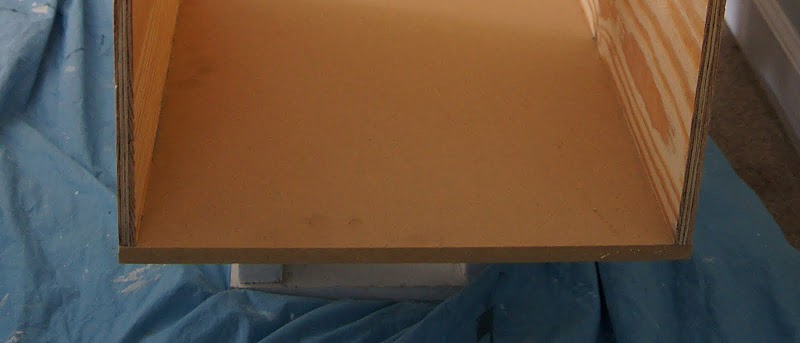
Start Here

Then we assembled the pieces.

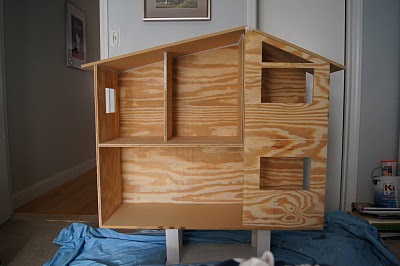
The house started to take shape.
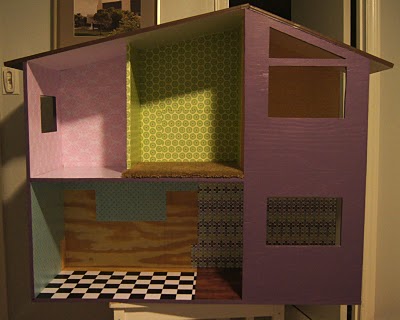
Next I primed and painted the exterior, roof and ceilings.

First off, my apologies for the super crappy pictures. I took them last night and the lighting was terrible. Normally, I would wait until morning to take pictures but I knew that would be pointless since it is a dark and rainy day today.
WALLPAPER I simply mod podged scrapbook paper to the walls.
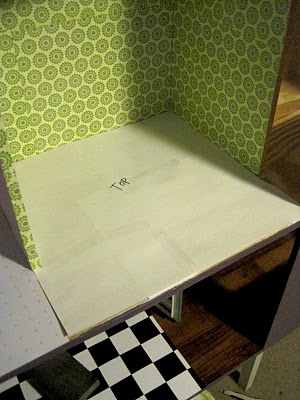
The empty spot where the plywood is showing through is where the "kitchen" is going to be.
On top is the yellow bedroom, beneath that is the living room.
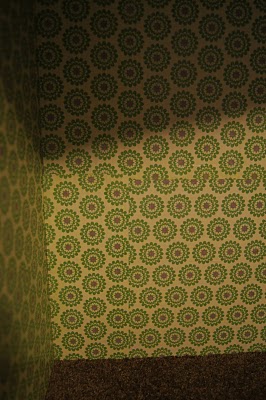
The middle upstairs room was the first room I "wallpapered" and I just slapped it on not even trying to match the pieces. It REALLY bothers me so I was much more careful with the other rooms. I am trying to not let it bother me so much that have I re-do it.
FLOORING

I really love the black and white checkerboard kitchen floor. I cut two 12x12 pages of card stock into 2" squares and mod podged it on.

For the "wood" floor of the living room I bought three stick on linoleum tiles ($0.88/each). I didn't like the parquet look so using a box cutter, I cut along the lines to get planks.
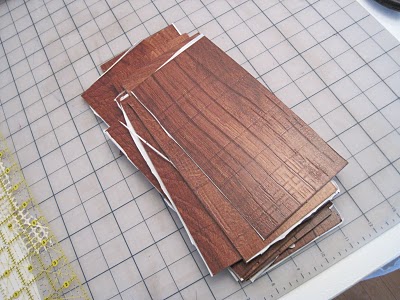
I had to then cut a few more down to fit the room, peeled of the backing and suck 'em on.

The "bathroom" floor is a plastic faux tile floor used for miniature doll houses. I bought it during a 50% off sale at Hobby Lobby.
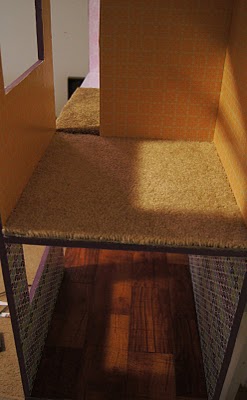
I made a template for the carpet by taping pieces of paper together.
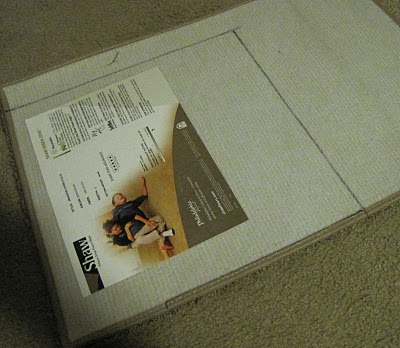
Traced the template onto the back of the carpet.
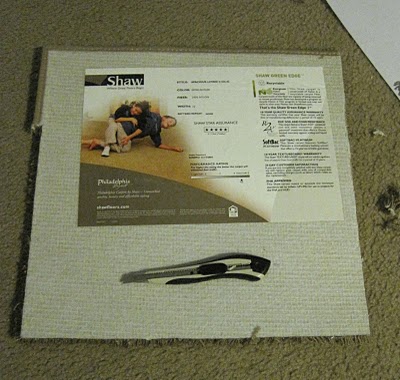
Cut along the lines with the box cutter and hot glued in place. I got the carpet samples for $1 each at a local carpet store.

No comments:
Post a Comment