by Ginger Cake
Tutorial - Here is a fun toy tutorial by the talented Ginger Cake

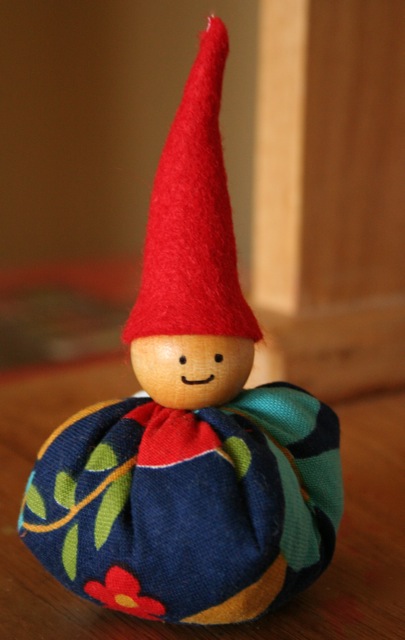
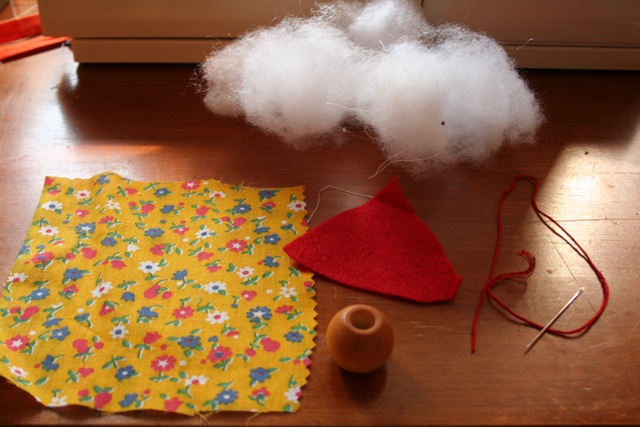
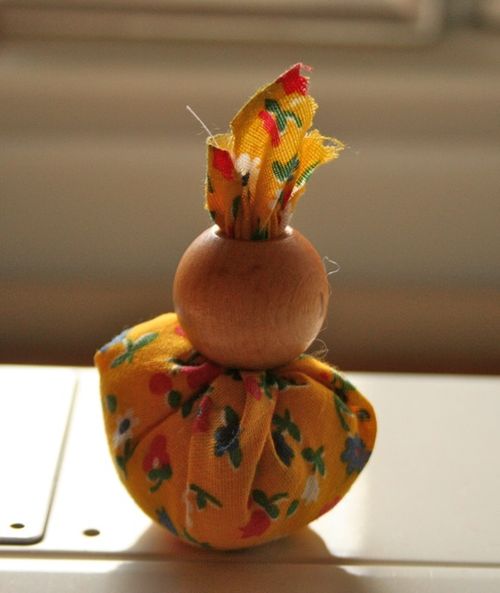
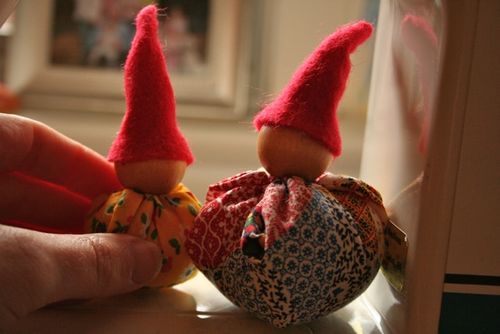
The gnome pictured is the smallest gnome. I used a 5" square piece of fabric. The others are 6" and 7". So you can choose or make yours a variety of sizes.
Start by taking your piece of fabric and folding it in half with the right sides together. On one of those short sides, sew a seam starting about 3/4" to and 1" from the open edge and make a curve at the end like in the picture below. In the picture I already trimmed away the right angle of fabric into a curve.
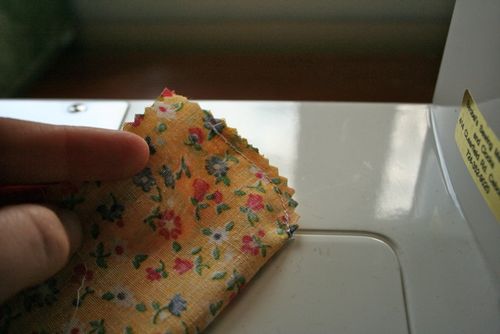
Now move onto the next edge, fold it, start sewing an 1" from the open edge, sew a curve, and trim of the excess fabric. In some of them I didn't do this curve and it still turned out cute but a little more poofy on top. Once you have sewn up all four edges it should look like this...
Turn it inside out. Just stuff polyfil in at this time or you can add some weight to the bottom by putting some beans, rice, or popcorn in the bottom. Stuff a small handful of polyfil so that it is about 2/3rds full.

Stuff a small handful of polyfil so that it is about 2/3rds full. 
Now twist the top so you can put the bead head on.
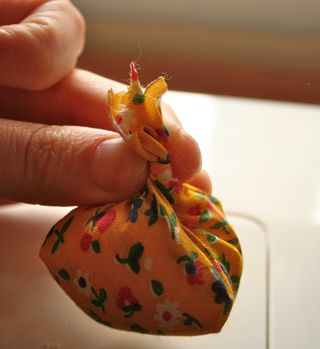
Pull the fabric twist through the bead head. Sometimes this is really easy- if you have enough fabric and if you used lightweight cotton but can be a challenge if you use decorator fabric. just stick with it you'll get the hang of it. Pull the fabric through as tight as you can and it should look like this..
"For anyone that has trouble pulling the fabric through.. I used a long oversized saftey pin to pin the fabric and pull it through the bead.. after you get the fabric through, just un pin the saftey pin, and voila!"
If your beads are bigger, it is very easy to make on your own hat by wrapping a piece of felt around the head, holding it closed with your fingers and cutting up to make a triangle as tall as you want the hat to be.
See? Easy.
Fold in half to make the hat. I use my sewing machine and have a small seam- less than 1/8". You can do it by hand too if you are uncomfortable with that tiny seam.I like to leave the top a little open so that i can have a really pointy top when i turn it inside out in the next step.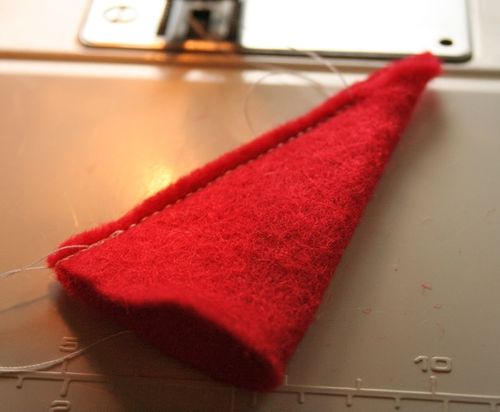
Turn it out with a chopstick. Try to poke out the tip. At this point you can just hot glue on the hat and be done. If you are going to have kids playing with it, you can secure that hat on better with a little more work.
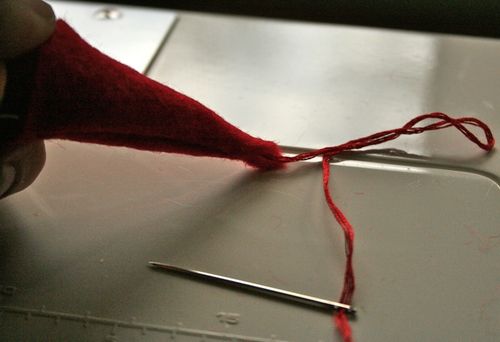
Thread the needle with the embroidery thread and go through the place where fabric comes out of the top of the bead head. Sorry my picture turned out terribly dark so I don't have one of this step. Take your needle up through the top of the hat and start sewing down with a simple whip stitch.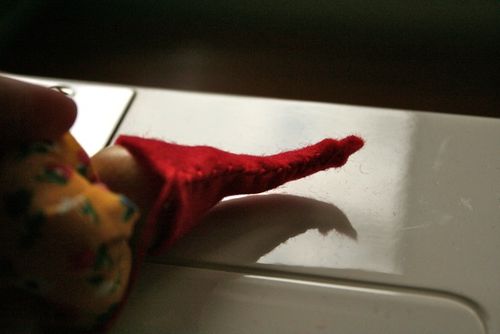
If your stitches are a little loose you can give the thread a pull to make your hat bend in a cute way.
At this point, the hat is on but it needs a little something else. I usually just use the hot glue gun to secure it.
Now use a permanent marker and make some cute little faces!
You can make bunches at one time. Make as many as you want for personal use and gifts.
No comments:
Post a Comment