by I Could Make That
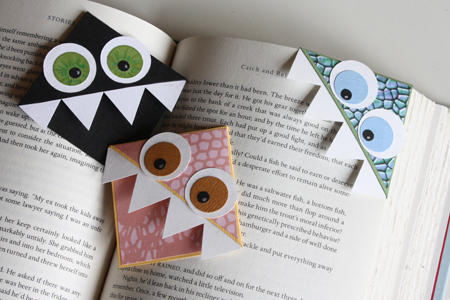
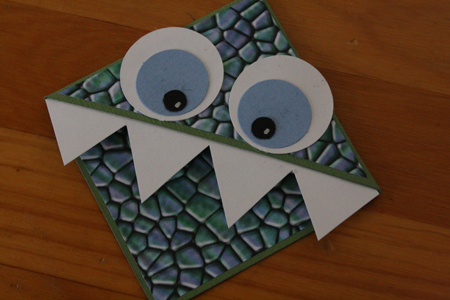
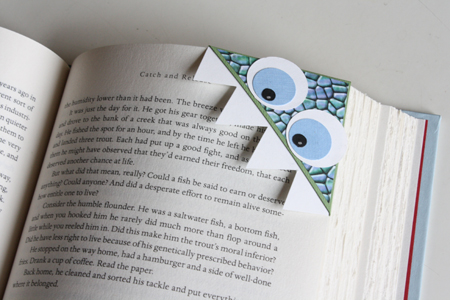
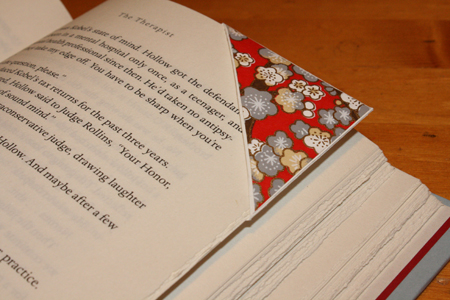
Tutorial - Here is a step-by-step tutorial for really cool unique bookmarks. Page corner bookmarks are cute, practical and deeply under-represented in the world. They’re easy to make, easy to customize, and will set you apart from all those same-same flat rectangular bookmarks.
What you’ll need
- pretty paper of cardstock weight OR a combination of plain cardstock and pretty, decorated lighter weight paper
- scissors
- ruler
- mechanical pencil
- glue stick
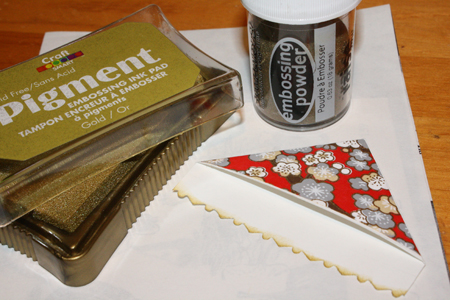
- [optional] other decorating tools, such as crayons, markers, stamps, stickers, ink pads, embossing powder, etc.
Putting it all together Below,are two similar-but-different types of corner bookmarks. The first is a square overlapped by a triangle , the second is a triangle overlapped by a smaller triangle.
1) Ok, the very simplest thing to do is to cut a triangular piece off the corner of an envelope, and use that. Decorate it if you wish. If you want to get a bit more in depth, ignore the envelope method and move on to step 2.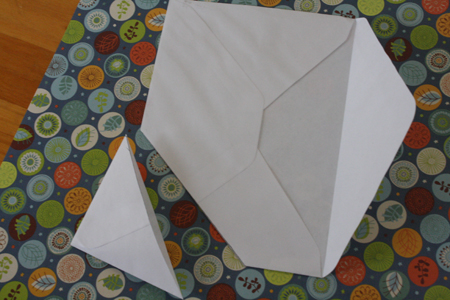
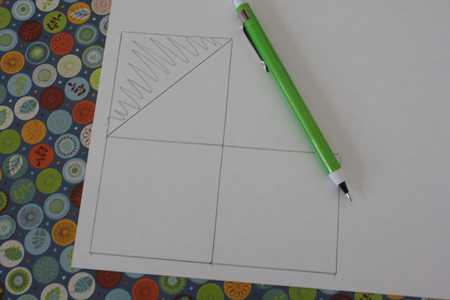
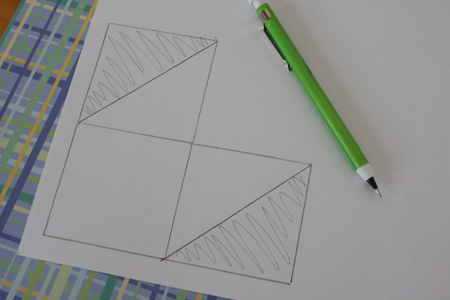
2) On a piece of plain scrap paper, draw a square. Use your ruler so its sides are perfectly straight. Don’t make it too big – mine measured 2.5 inches x 2.5 inches, though you could go larger than that. Draw second square exactly the same size on the right side of the first square (so they share a side) and a third square exactly the same size on the top of the first square. You should end up with 3 squares that compose an L shape.
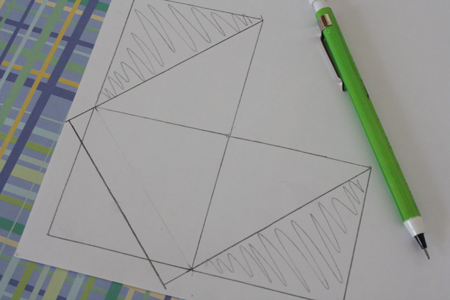
3) Using your ruler, draw a diagonal line across the uppermost square, from its top right corner to its bottom left corner. Scribble out the upper left half (now a triangle) of the square, as you won’t be using that part.
Next, draw a diagonal line across the bottom right square, from its top right corner to its bottom left corner. Scribble out the lower right half (now a triangle) of this square.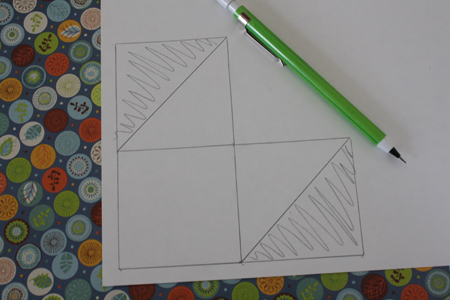
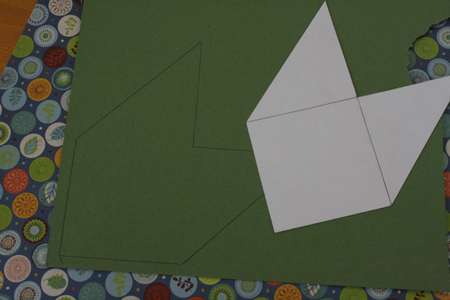
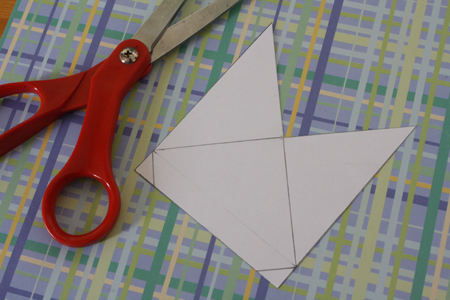
4) Cut out all parts of the entire shape that have not been scribbled out. This should be a square with two triangles attached to it, one on the top and one on the right. This is your template.

5) Trace your template onto your pretty piece of cardstock (or onto the plain piece of cardstock that you intend to decorate), and cut the shape out.
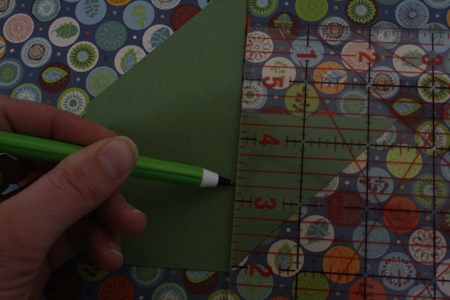
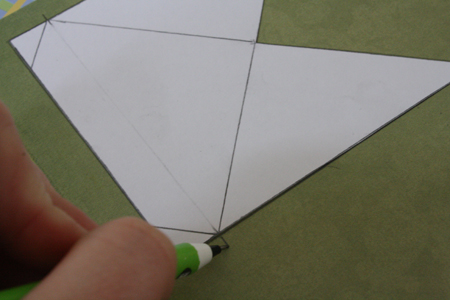
6) Using your ruler and the tip of your mechanical pencil with no lead showing, score a line (make an indent) along the edges of the square that connect to the two triangles.
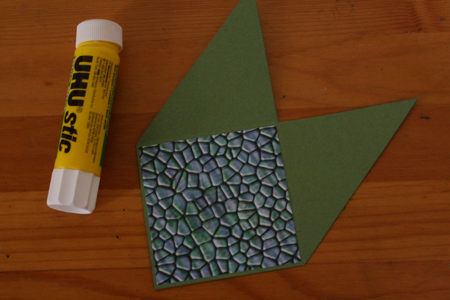
- 6.5) [optional] Cut a square of pretty paper slightly smaller than the one you used for your template and glue it onto the square portion of your shape. I generally do this if the paper I’m using is quite plain.
-
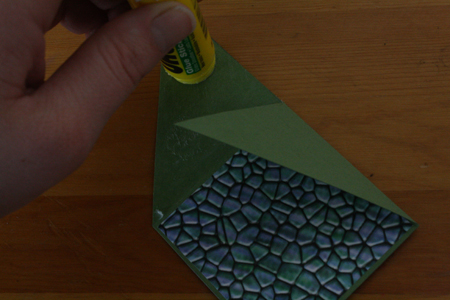
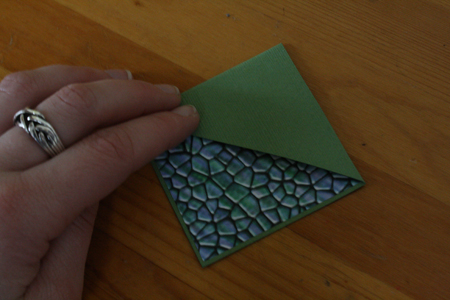
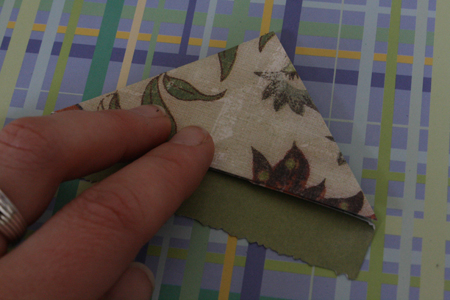
7) Fold one triangle inwards, so it covers the upper half of the square.
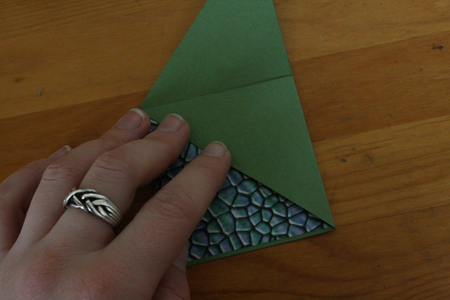
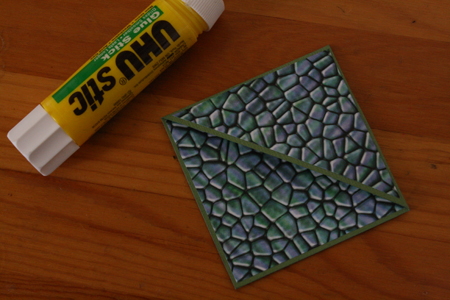
8) Apply glue to the underside (the side still facing up) of the second triangle, and fold it over onto the first triangle.
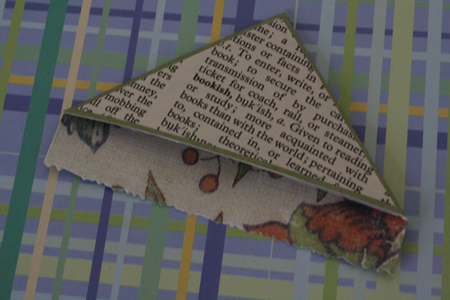
- 8.5) [optional] As in step 6.5, if you’ve used plain cardstock and want to glue fancy paper on top of it, cut out a triangle of the fancy paper that’s slightly smaller than the folded-over triangles of the bookmark. Glue the smaller triangle on top of the larger, folded-over ones.
-
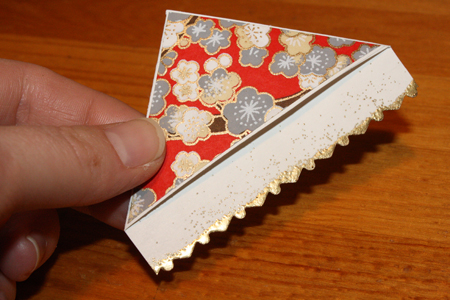
Now, here’s how to make a triangular bookmark, where the back is a triangle and not a square.
1) Follow steps 2 and 3 from above.
2) Use your ruler to draw a diagonal line across the remaining, center square, from its bottom right to its top left. Then draw another line, parallel to the one you just created but about 1/2 inch lower down. Erase the first line.
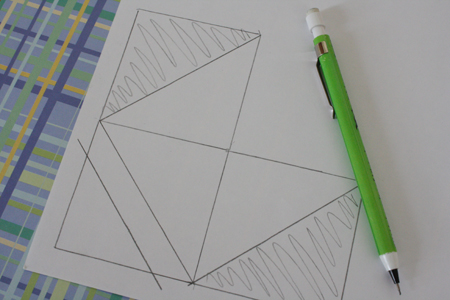
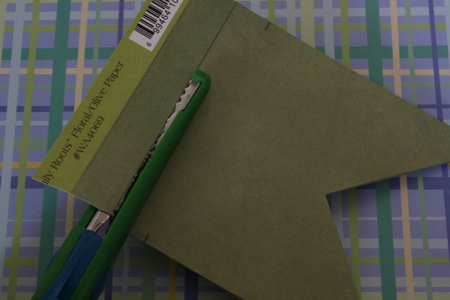
3) Extend the shape’s bottom line and the two side lines so that they meet up. You should now have a shape that looks like a castle flag: a rectangle with a triangular indent at one end.
4) Cut the shape out.
5) Trace the template onto your nice paper. Be sure to make a little mark on either side where the corners of the two outer triangles meet the inner triangle , and extend this mark onto the inside of your shape.
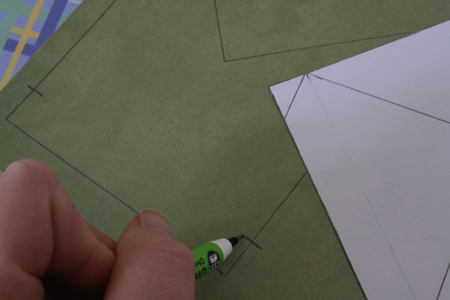
Cut the shape out. If you want a fancy bottom edge, cut that line with fancy scrapbooking scissors.
6) Now follow steps 7 – 11 from above, scoring along the appropriate lines, folding the two outer triangles in on top of each other, gluing them down and adding any fancy paper or other embellishments.

No comments:
Post a Comment