Scroll Magazine Rack by This Old House

Tutorial - Make this stylish magazine holder.
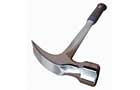
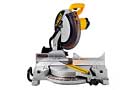
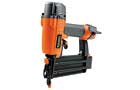
Tools for This Project
The pictures below show the ideal tools but of course they can be substituted by basic versions.


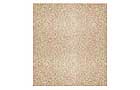
Supplies You Will Need
Brackets Pick a bracket slightly larger than the magazine you plan to store, with scrollwork that extends enough to keep the corners from flopping over.
1x boards Select boards at least as wide (plus ¼ inch) as the bracket is long.
Molding Choose a profile up to ¾ inch to cover the exposed edges of the 1x boards. It's okay if it's slightly smaller; that will create a subtle reveal. Wood glue
1¼-inch brad nails to attach the back to the base.
⅝-inch brad nails to attach the molding to the edges of the base and back.
Wood filler
Primer spray paint
Semigloss spray paint
Overview

This rack uses four 10-by-12-inch brackets spaced 2 inches apart. Pick a bracket slightly larger than the magazine you plan to store, with scrollwork bold enough to keep the corners from flopping over. Most brackets are set in an L-shaped frame; removing it will allow the magazines to sit directly against the scrollwork. Select boards that are just a little wider than the bracket's longest edge.
Step by Step
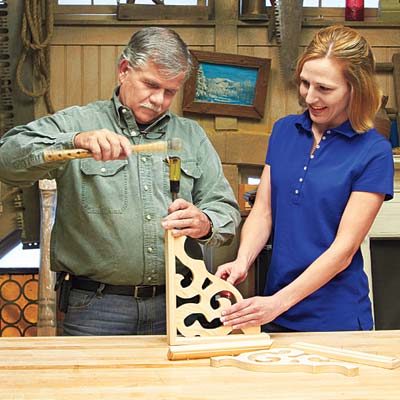
1. Remove the bracket frames.
Carefully wedge a chisel between the scrollwork and the frame to break the glue's bond and loosen the nails without cracking the wood. Use a hammer to gently tap the chisel the frame away from the scrollwork.
Pro Advice
"For thinner dividers, use decorative stair brackets—or shape your own from ¼-inch plywood. Then rout slots into the back and base to hold the brackets in place."—Tom Silva, TOH General Contractor

2. Cut the base and back.
Use 2-inch blocks to space the brackets evenly, then measure the length of this assembly. Add ¼ inch and cut two pieces to this length using a circular saw. Measure the short extension of the scrollwork, and trim the base piece to that depth. Measure the long extension and add ¾ inch to get the height of the back; trim the second piece.

3. Assemble the base and back.
Apply wood glue to the rear edge of the base piece, and butt it against the back piece. Using a hammer and 1¼-inch finishing nails, or a pneumatic nail gun and 1¼-inch brad nails, fasten through the back and into the base.
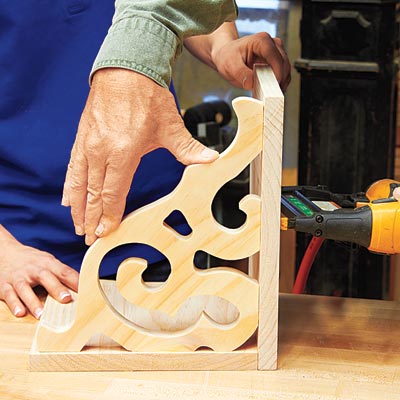
4. Attach the first bracket.
Position a bracket ⅛ inch in from the edge of the assembly. Mark its position, apply glue to its edges, and set it back in place. Nail through the frame and into the scrollwork with 1¼-inch brad nails.

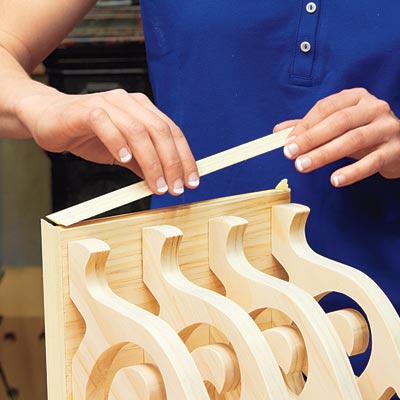
5. Secure the remaining brackets.
Place spacers between the brackets along the back and base to keep the dividers parallel. Glue and nail each bracket to the frame, as in Step 4.

6. Cut the first molding strip.
Mark a length of molding for one side edge of the back. To cut the lower end where it meets the base, lay the molding flat on the saw deck and miter it at 45 degrees, like a picture frame. At the top corner, stand the molding on edge and miter it at 45 degrees, like a bevel.

7. Cut and install the side pieces.
Apply glue to the strip, hold it against the edge, and nail it in place with a pneumatic nail gun using ⅝-inch brad nails. Mark and cut the molding for the three remaining side strips the same way, with a picture-frame miter at one end and a bevel at the other.
8. Finish the molding and paint it.
Mark the length of molding for the front and top edges, stand them on edge, and miter their ends at opposing 45-degree angles. Apply glue and nail them in place. Fill the nail holes and sand those spots. Finally, in a well-ventilated area, spray the assembly with primer, let it dry, and spray-paint it a fitting color.
No comments:
Post a Comment