by Rachel via Sun Scholars
You make this... your kids will think that you are the absolute COOLEST!
Other moms will be talking about you... and it is certain you will be asked to bring this along to the next get-together.
Are you ready for it?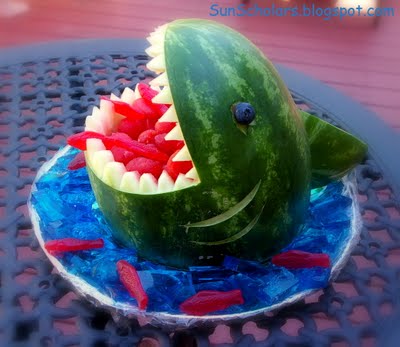 And the best part is, it is SO SIMPLE to make! Seriously!
Ingredients:
- 1 Watermelon (try to find one with more of an oval shape if you can)
- Blue Jell-O (2 large, 8-serving pkgs)
- Fish-Shaped Candies
- Blueberries (x2 for the eyes)
- Toothpicks (3 or 4)
Other Supplies I used, though all optional:
- Tray (I used a pizza pan)
- Foil
- Saran Wrap
- Blue & Green Markers
- Melon Ball Tool
Directions:
1) Prepare Your Ocean Water
I followed the recipe for Jell-O Jigglers, found HERE, ahead of time. I thought that having blue, Jell-O Jigglers would not only make a fun snack, but looks much more like water than the watermelon used in the original photo. Don't you think?
2) Prepare Your Tray
I covered a pizza pan with aluminum foil and had my children color the foil with blue and green markers. We then covered the colored foil tray with Saran Wrap so that the color would be protected. Remember that your shark will cover a good portion of your tray, so you don't have to completely color it.
And here is the finished tray...
3) Cut the Watermelon
Wait... first, let me recommend you wash your watermelon.
Now, lay your watermelon as shown in the first image and decide which end would make a better shark head. I opted for the left side with the less rounded curve to it. Slice off the other end at a slight angle (not too much).
Next, rest your watermelon on it's cut side, and decided where you would like the shark mouth. Make sure here that you are adding about an inch or so for the teeth you will be cutting out of the rind. Here, I have cut my shark mouth wedge. (Make sure to save your wedge for the shark fin!)
Next, with a small knife, carefully score around your shark mouth, only about 2-3 millimeters deep. This will help you to peal off the rind down to your cut so you can begin to form the teeth.
Can you see my score lines above?
Again, with a small knife, carefully cut away the green rind down to your score lines around the mouth.
4) Remove the Good Stuff
... and SET IT ASIDE! We'll be using that in a bit.
I chose to use a melon baller here, but you may choose to take a knife and cut away all of the watermelon. The melon baller obviously takes more time, but the little balls look so nice I think.
And here we are, with a pile of watermelon, quite a mess I have to say, but a clean shark. I used a spoon to help scrap the extra melon from around the mouth opening. It worked nicely.
5) Cut the Teeth
But before you do that... I rinsed my shark once to get all the sticky off, and set it on some paper towels to help absorb the extra moisture.
Ok... Now this is where it starts to get fun! Grab a small, sharp knife and cut your jaws as you see me doing below, on the top and bottom of your shark mouth.
6) Add Gills & Eyes
I used a small knife to cut into the rind (careful not to cut all the way through) to make an eye and the lines for the gills behind the mouth.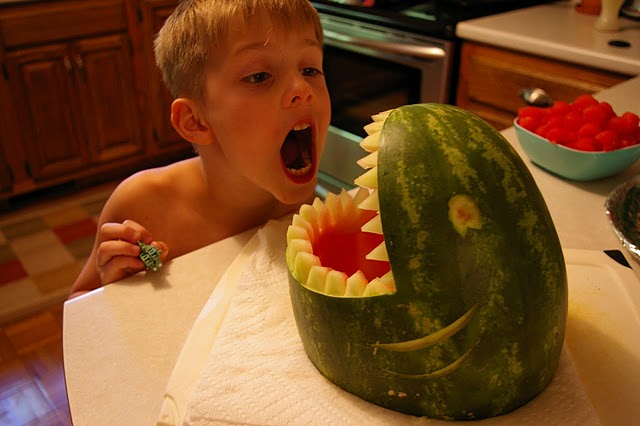
I broke a toothpick in half and used that to attach a blueberry to the center of each eye.
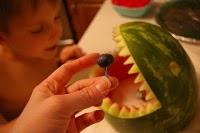
And we have an eye!
7) Add a Fin
Take the wedge you cut to form the shark mouth to make your fin. Below you will see how I cut my wedge to get a nice triangle fin
Then I removed the watermelon from the other side. I placed the fin up to the shark and realized I needed to cut a bit of a curve on the bottom side to have it fit nicely. You may need to do the same.
To attach the fin, I placed a couple of toothpicks into the shark and pushed the fin into place.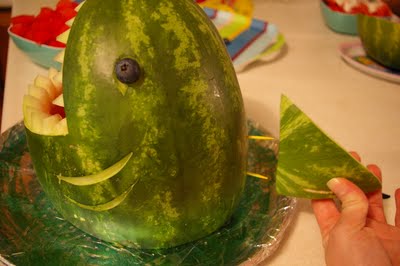
8) Finishing Your Shark Attack Snack
Transfer your shark to your tray, if you haven't already.
Fill your shark mouth with your reserved watermelon chunks or melon balls.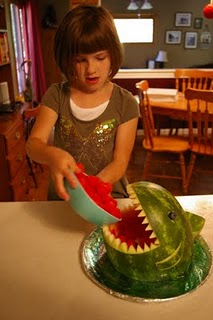
Next, cut your Jell-O Jigglers into bit-sized pieces, and arrange them around your shark on the tray.
Finish it off by adding some candy fish to the shark's mouth and the ocean water around him. I didn't do this, but thought some whip cream would even be a fun touch. Messy, but fun. :)
And here's your finished snack.
Sure you get a scream at social gatherings this summer!
Watch out for the teeth!
No comments:
Post a Comment